Guide
Course Guide
You have decided to book a course with us, do not know however how this actually works? Here are the ten most important facts about our "Course" learning format.
Important to know: Please place your order no later than 5 p.m. the day before, this is the only way to ensure that the process runs smoothly.
Personal account
It is very important that you create a personal profile. First if you are registered and have logged in, you can trigger an order.
System test/Use of multiple devices
If you decide on a course, it is important that you test in advance whether your technology fits our system requirements. If you need help with this, contact our support.
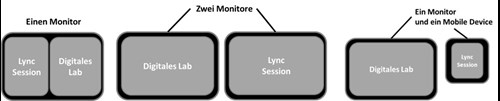
If you have this option, several monitors or devices can be used for online sessions (MOC and Office). Of course, if you only have one monitor, that works as well. The figures show you the options available and how you can use the various applications.
Log-in information for a course
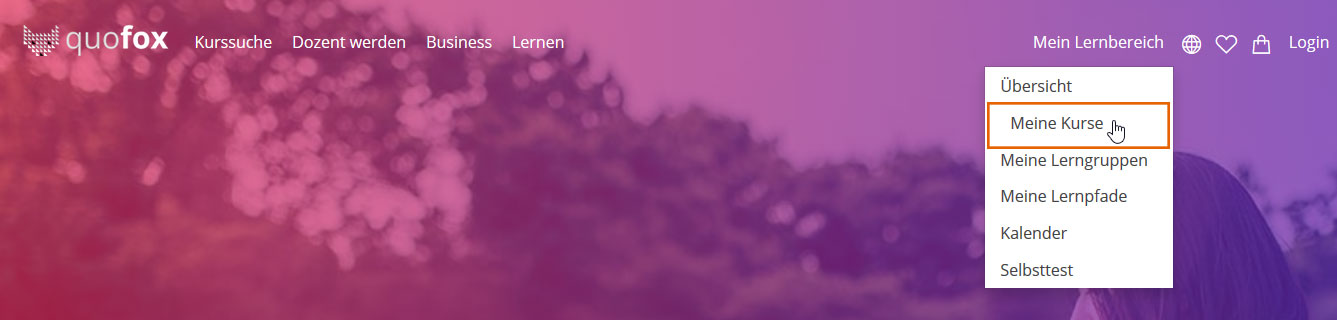
You can find your access data for the course in your personal study area. If you einloggest you up, you can see the respective access data under "My Learning Area / my courses" for your purchased products with the specific start times.
Start a course
If you are taking your first class with us, we recommend that you check a few minutes ahead of time whether everything is working correctly. When you select your course in the Start center, everything you need for your course will be displayed: the virtual classroom and your online lab for MOC and Office courses (practice environment). Once you click the relevant button, you can get started. Scripts and other products for the course are located under My Learning/My learning materials.
Virtual classroom
The virtual classroom is your learning environment for courses and workshops. You are connected to the other students and the instructor through this virtual classroom. You see and hear the instructor and can communicate with him/her and the other students at any time.
Online lab
If you have booked a course on a Microsoft product for users or administrators, the practice environment, known as an "online lab," is important for helping you learn more successfully. It includes practical exercises you can complete to put your theoretical knowledge into practice. The online lab is available to you for 5 days after your course for a total of 5 consecutive hours from the start of the online lab. Please note that there is no stop/start function. If you decide to complete the exercises, then set aside enough time to do so. There is also a separate how-to guide for opening and using the online lab.
Training materials
You will receive a certified training base, i.e. a rate base in digital book format (digital MOC) Microsoft course document
to any official Microsoft course. The use of the dMOC course document via the Skillpipe reader. For this you got an instructions in a separate email already. This includes the license key that you need to be able to work with the digital rate base.
Office script
there is a script for many of our Office topics. This can be downloaded under "My Learning Area / my courses" as a pdf document.
ITIL training materials
Each ITIL course includes comprehensive course documentation. This serves as important supplementary material to prepare you optimally for ITIL certification. These course materials are also available as a PDF download under My Learning/My learning materials.
Process and duration
All courses are run similarly on our site:
Microsoft course
- (1) Introductions by instructors and learners
- (2) Brief explanation of the virtual classroom by the instructor
- Explanation of course content in theory with reference to demos
- Q & A session
- (5) Explanation of how to use the online lab
Office course
- (1) Introductions by instructors and learners
- (2) Brief explanation of the virtual classroom by the instructor
- Online lab home
- 4) Joint work on course content, including exercises and examples
- Q & A session
ITIL course (total of 8 consecutive courses)
- (1) Introductions by instructors and learners
- (2) Brief explanation of the virtual classroom by the instructor
- 4) Joint work on course content, including exercises and examples
- Q & A session
Our courses usually last up to 2 hours. So unfortunately not much time for in-depth content questions. During a course or even in the wake of the exercises you realize that you want to rid of like a few more questions, we recommend you a login to our next subject-specific "workshop", which fits to your topic.
Does anything else happen after the course?
After all courses you have the opportunity to rate the course you just completed using an online review form. These reviews are very important, because this is the only way we can provide optimal content to you.
How-to Guide – Access the Virtual Classroom with Lync/Skype for Business
(Technical requirements)
System requirements/Recommended hardware requirements
- Intel Pentium 4, AMD Athlon 64 or equivalent
- 2 GB RAM
- Graphics hardware
- Support for Microsoft DirectX 9 API
- 128 MB graphics memory (minimum). 256 MB graphics memory recommended.
- WDDM (Windows Display Driver Model) driver
- Pixel Shader 2.0 hardware
- 32 bits per pixel
- Windows 7 SP1 or higher
- Internet Explorer 8 or higher
- or Mac OS with
- Firefox 12 or higher
- Safari 5 or higher
- Chrome 18 or higher
For spoken communication
- a headset or
- requires a microphone and speakers
For video functions
- a camera is required
- the client must be able to handle video coding and decoding standards H.264/MPEG-4 Part 10 Advanced Video Coding
Ports
- DHCP 67/68 - for finding other communication partners
- TCP 443 - for secure data transfer
- UDP 3478 - for integrating external A/V course
- TCP 5061 - client-server traffic
- TCP 6891 – 6901 - for connecting to older Lync versions
- TCP/UDP 1024 - 65535 - for audio/video/file transfer/sharing
Bandwidth
- the bandwidth required is subject to different factors
- depending on the voice / video quality the typical range is between 40 Kbps and 460 Kbps
- (At very high resolutions (1920 x 1080 (16:9)), the bandwidth can exceed 4000 kbps)
Have you already booked a course and want to enter the virtual classroom, but dont exactly know how this works? Then, this guide explains friends how to do it:
To participate in the course, it is advantageous to use a headset. So you can exclude disturbing background noise. You do not need a webcam, but would be recommended. You must have the Skype for Business plugin installed in your browser or install it at first login.
Info 1: Navigate to the virtual classroom
Click on the link to your virtual classroom in the start Center. The Skype for business Web app will open in a new window/tab. If you already use Skype for business, open your Skype for business client by clicking on the link. If you are logged in there with your corporate account, sign off and delivered with the access data, such as from quofox, get in the car.
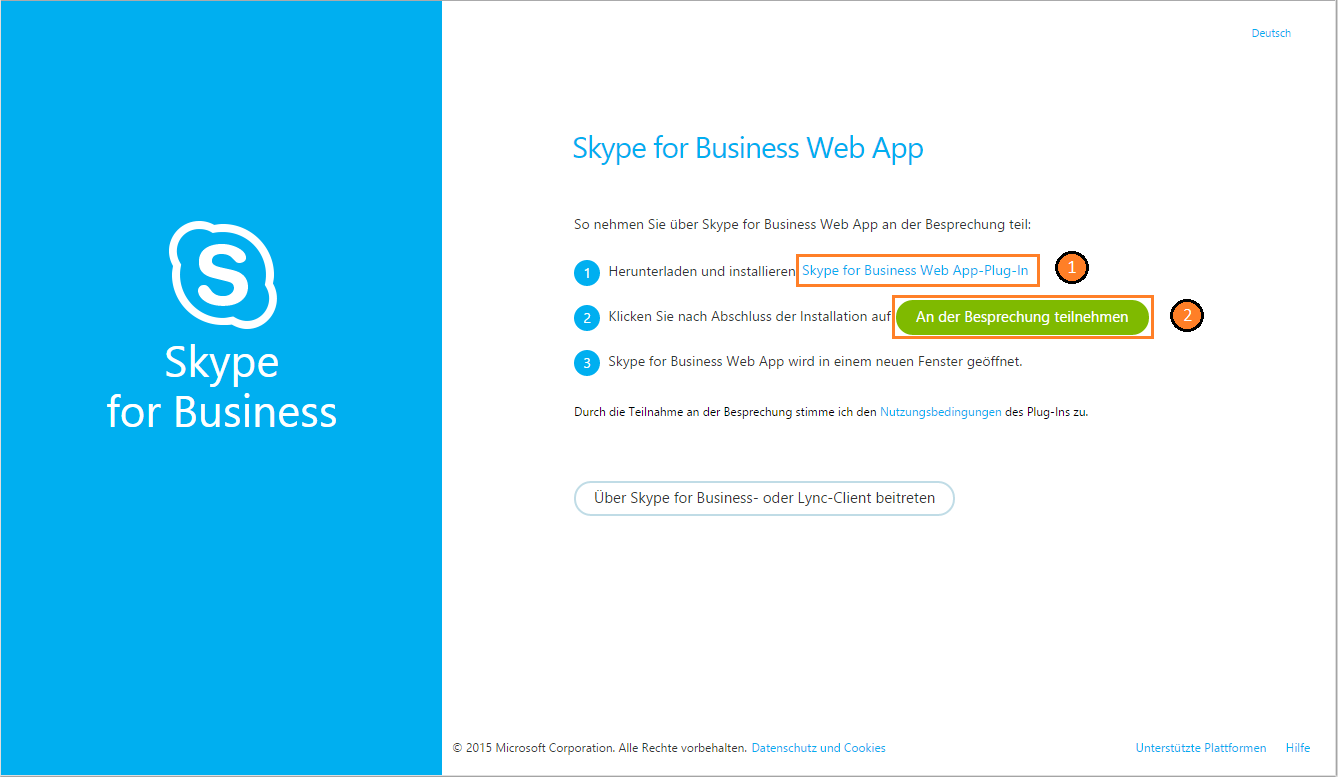
If you have not yet used the Web app on your current computer, you must install the browser plugin. In order to start the installation, click the link \"Skype for Business App Plugin\" (see Fig. 1, Step 1)
If the plugin is installed, follow the "join the meeting" link (see Figure 1, step 2).
Fig. 1
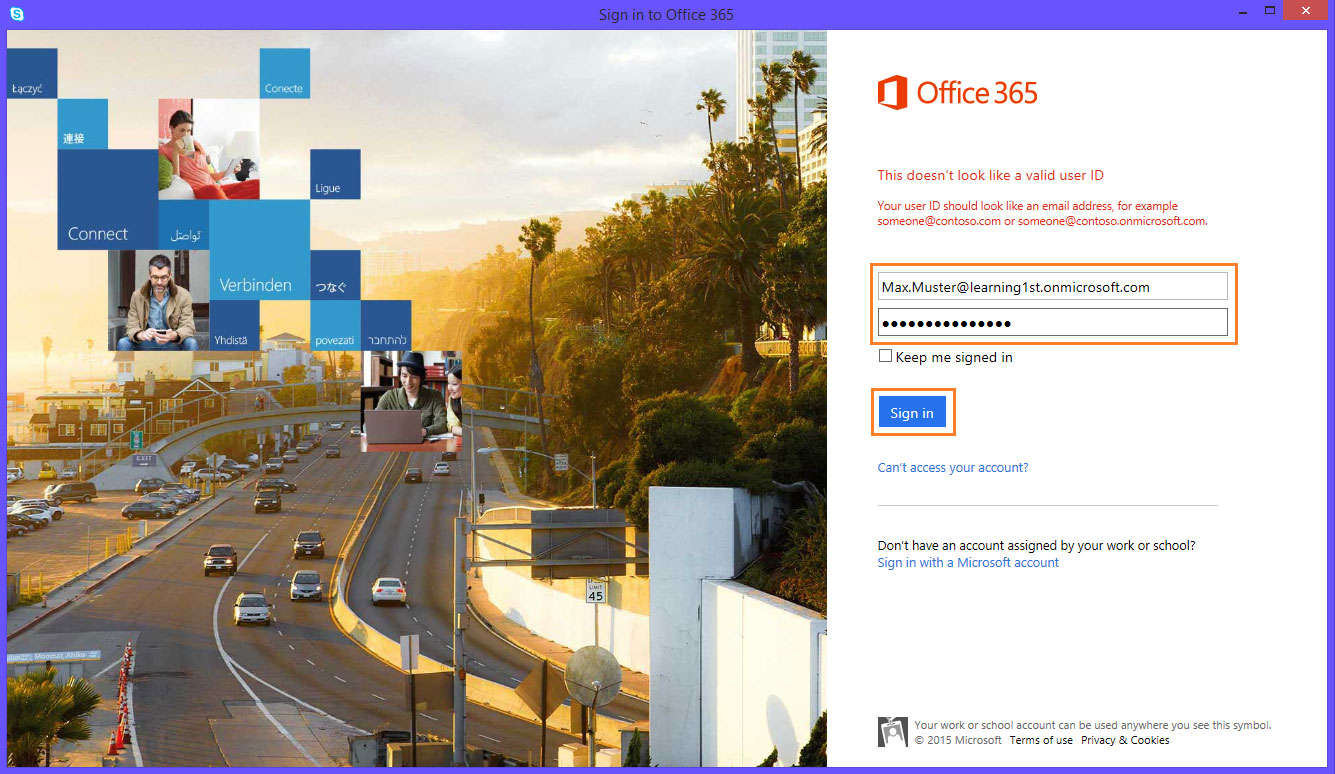
Info 2: Logging in as an Office 365 user.
Select Log in as Office 365 user.
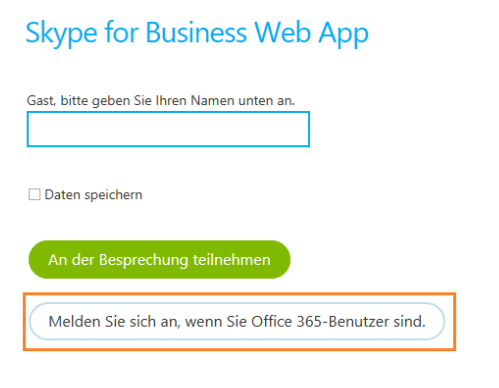
The login window opens. There, enter the provided user data from the Start Center.
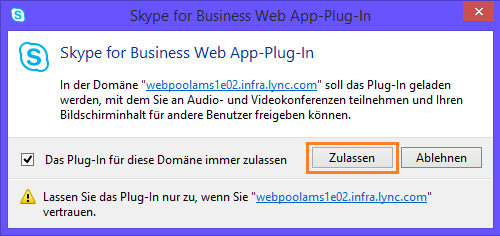
Info 3: Configuring the browser extension
Depending on the security settings of your browser, it can happen that you need to allow the extension. In Internet Explorer, to opens a window which asks you whether you want to allow the extension for the virtual classroom. Confirm by clicking on the button "Allow". To avoid future questions, you can activate before the checkbox on the left side with a hook.
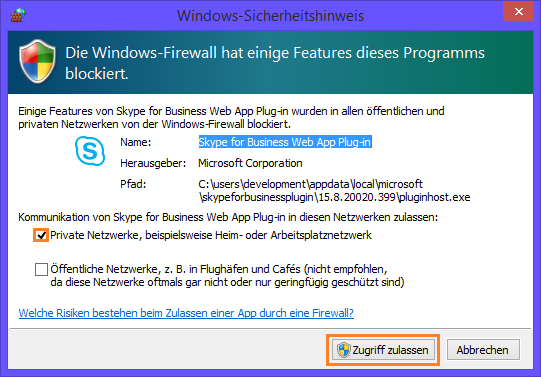
So the connection is not blocked, put a check mark for your network structure in the may following query and confirm with "Allow access".
Info 4: Entering the virtual classroom.
To protect the classroom from unauthorized access, the instructor must allow participation.
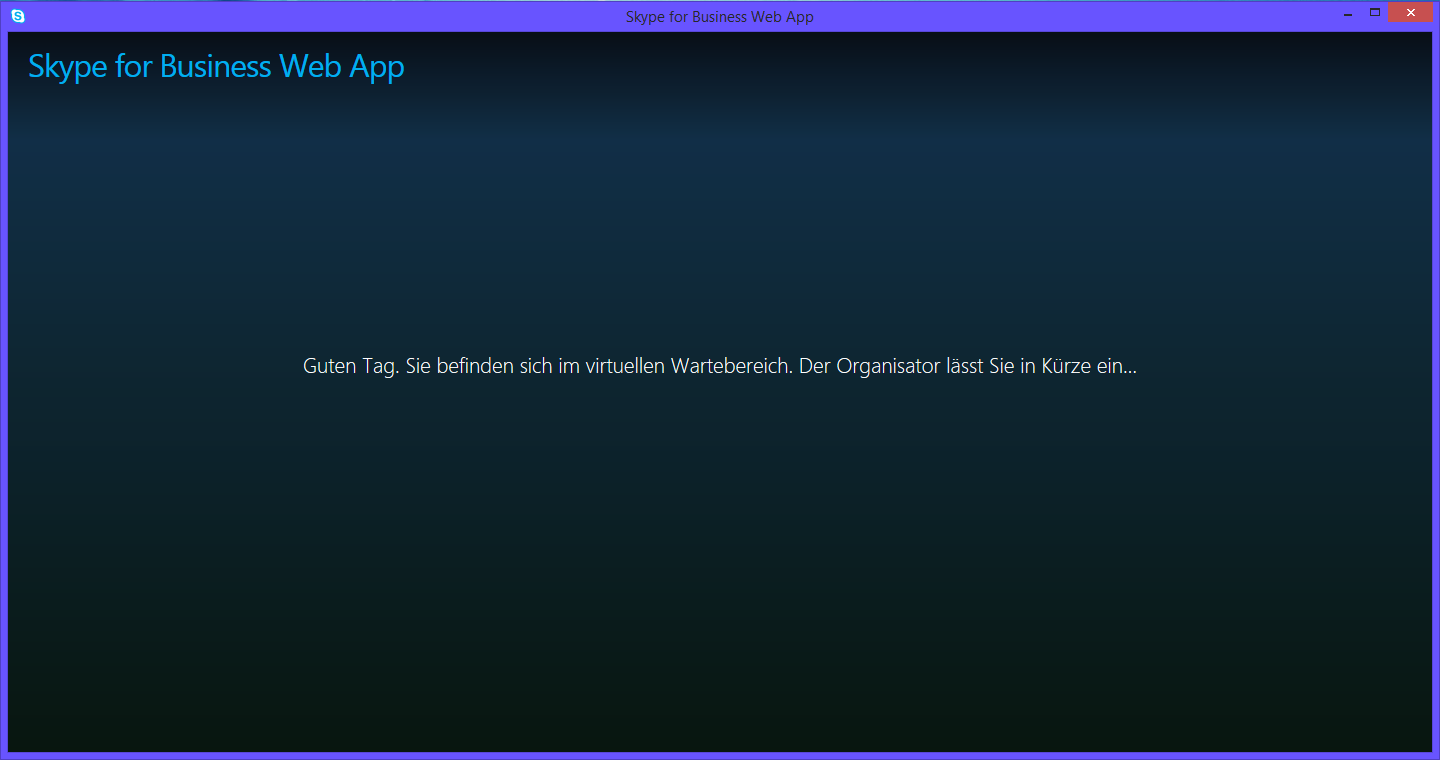
Info 5: Welcome to the virtual classroom.
How-to Guide - Working in the Virtual classroom with Lync/Skype for Business
You have purchased a course, have already started the Skype for business client (you need this extra help, read the manual - access to the virtual classroom) and want you is now navigate in the virtual classroom.
Following a course is easier using a headset. This enables you to block out interference from background noise. You are not required to have a video camera, but it is recommended.
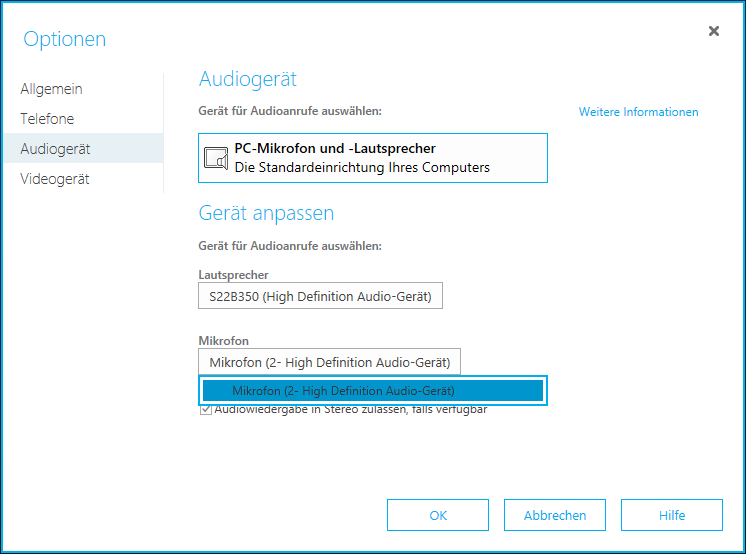
Select playback / recording device
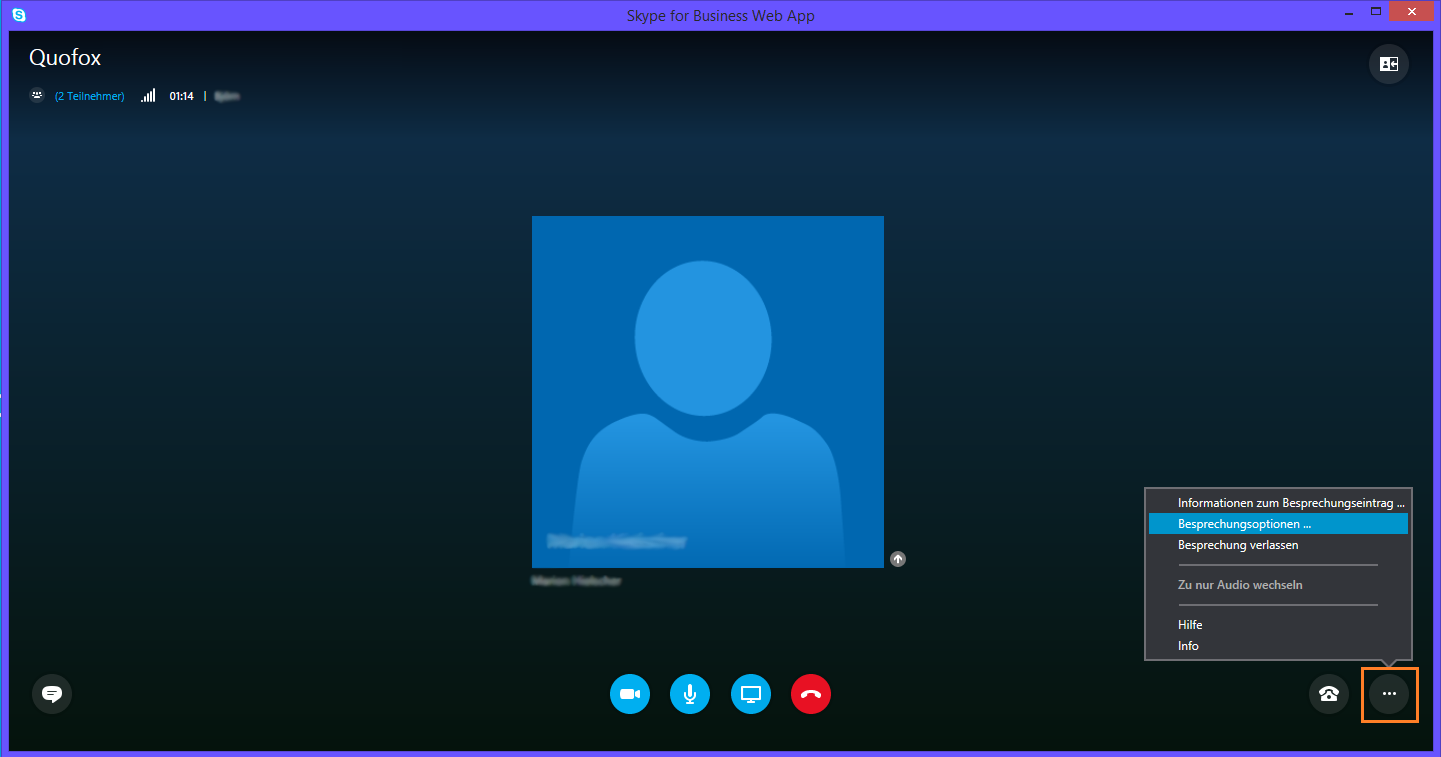
Did you call up the menu item Meeting options, you now see the menu to manage all in - and output devices of your computer.
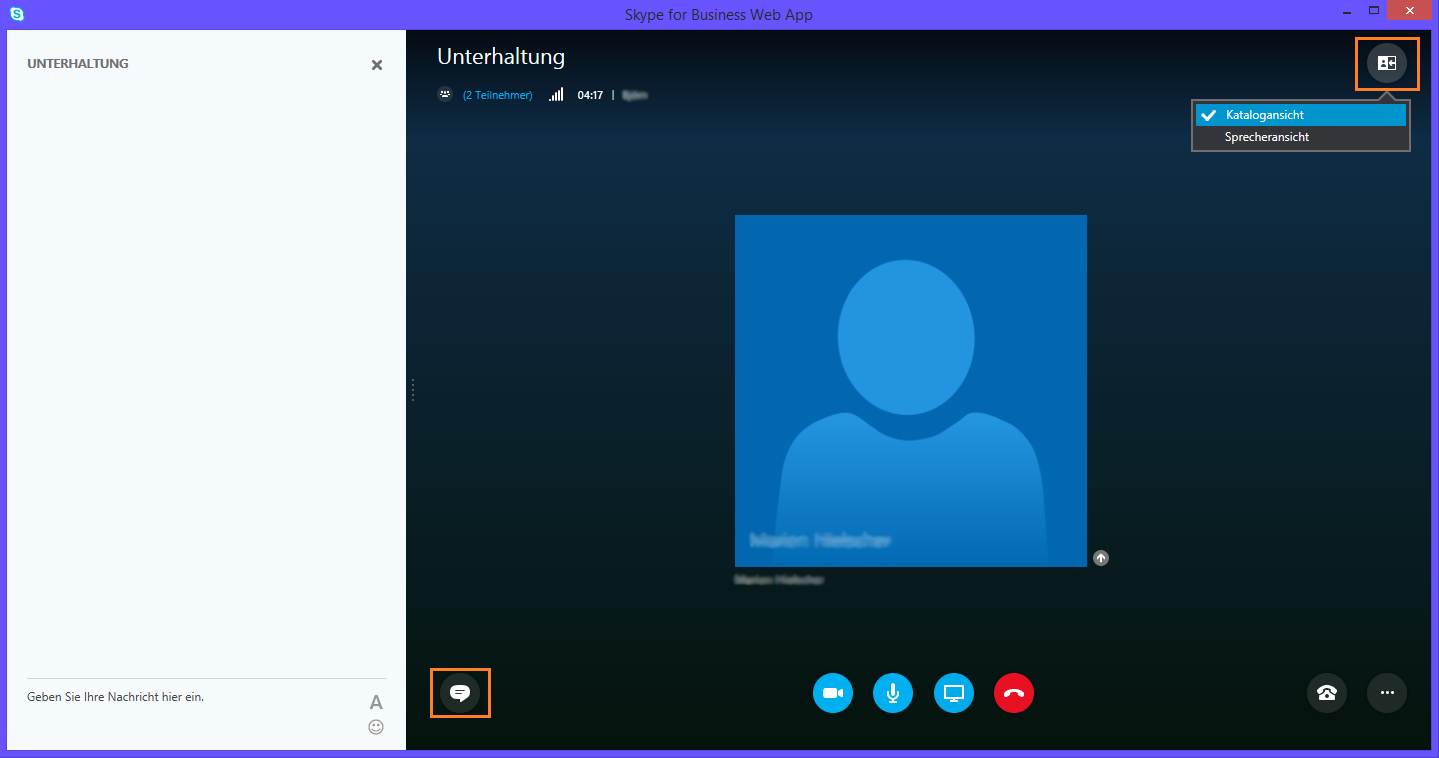
Chat functions/Views
Right above you can choose different views, which are best according to type of presentation.
To open the chat window, click once on the chat symbol at lower left.
How-to Guide – Accessing Online Labs
(Technical requirements)
RDP
- supported OS
- any running an RDP client
- necessary ports
- 80 HTTP
- 443 SSL
- Bandwidth
- There is no single answer to how much bandwidth is required. Depending on data compression, screen resolution, color depth, active desktop backgrounds, and other factors, the bandwidth can vary between 20 Kbps to 500 Kbps.
- Another important point for the use of liquid is the time delay (latency). She should be less than 100 ms.
Browser
System requirements
- optimum screen resolution better than 1024 x 768
supported browsers (versions)
- HTML5-enabled browsers
- Internet Explorer 10 or higher
- Firefox 17 or higher
- Chrome 26 or higher
- Safari 6.0 or higher
- Opera 18 or higher
required plugins
- none
You have booked an online lab, and its ready for you to use. Quofox offers two options for accessing the online lab. Choose one.
You can find your online labs, after you have logged yourself, below the main navigation of "My Learning Area / my courses".
Then choose the appropriate course and click on "Course lab" to come to your online lab.
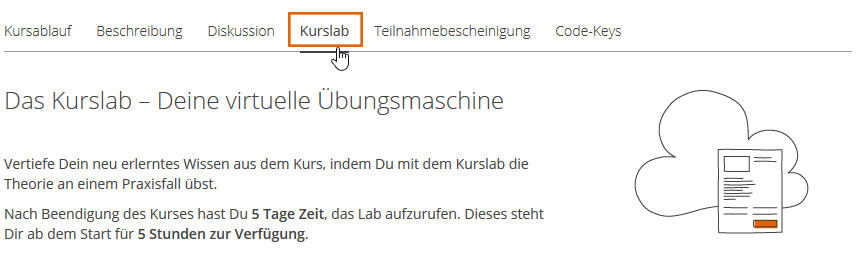
Info 1: Starting the lab.
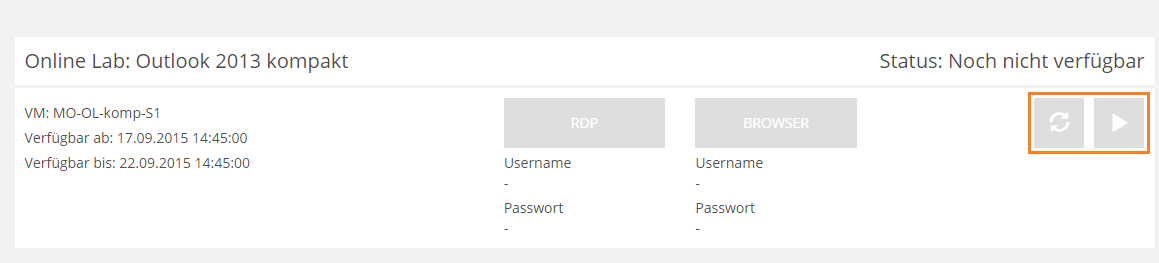
In most cases, your lab cannot be started until the course is over. If the lab is required for the course, it will be available 15 minutes before the course starts. Please note that after starting the lab, it is only available for 5 hours. In order to use it, simply click the \"Play\" symbol. You can also restart the lab here.
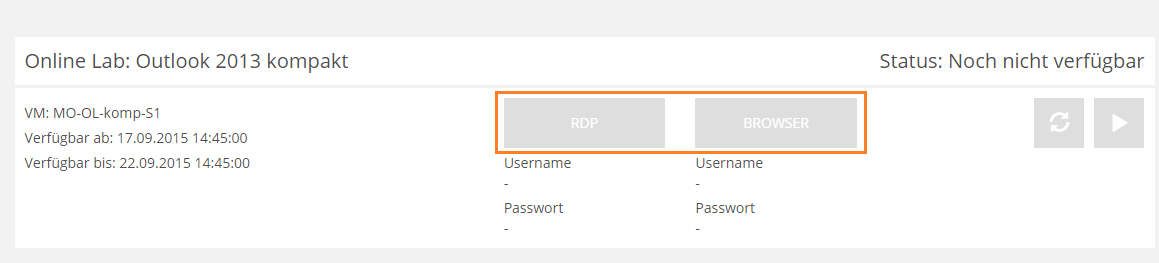
Info 2: Navigation to your labs and connection buttons
To connect to the lab, two connection possibilities are offered you. We call version 1 browser and version 2 as RDP. Both are briefly presented in this manual.
Option 1 via browser
In the Variant 1 - browser - you will need an HTML5 capable browser device. If youre working from home or with a private device, you did mostly automatically, if your Internet browser up to date. The advantage is that you need no additional software. Compared with the RDP access, access via the browser is a bit slower.
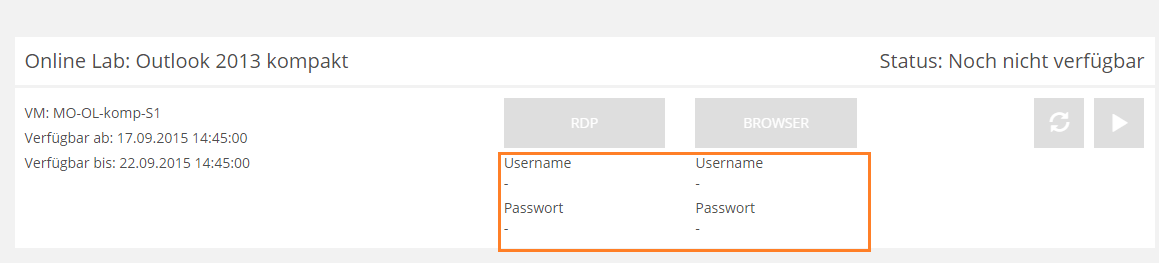
After you have clicked the "Browser" button, a new tab will open in your browser. Enter the username and password under the browser button to log in there.
Info 3: Connecting via a browser.
After login you can see the online lab connections potential for you listed. Click on the desired link. The lab desktop opens.
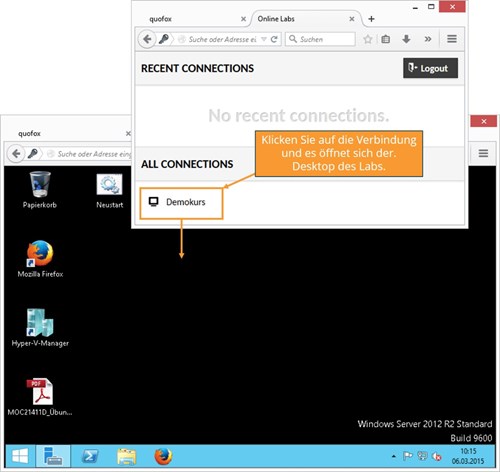
Info 4: Opening the lab desktop.
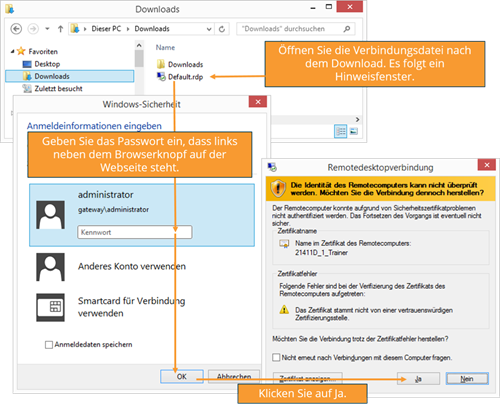
Option 2 via RDP
For Option 2 – RDP – you require remote access software, also called an RDP client. This software is available free for all common operating systems and is integrated into Windows. The advantage of the RDP connection is that it is somewhat faster than connecting with a browser. After downloading the connection file, you no longer need to access the website. In corporate networks, your administrator may have to approve your use of the RDP client.
Click on the button "RDP" and perform the download of the file. Your device uses the RDP client to establish a connection to the lab with the information from the file. Alternatively, you can also save the file and then double click call. Enter the password and click on the "OK" button. After you have confirmed the window with the "Yes" button, will take you to the online lab desktop.